DIY: Outdoor Shadow Art Activity With A Twist

This easy DIY takes full advantage of the summer weather, while teaching a child complex concepts. Including this in your child’s summer activities gives them the opportunity to learn about shadows with a fun twist!
Things you need:

Cardboard
Markers
Clear tape
Scissors
Colored cellophane sheets
Making the stencil:
- Take a piece of cardboard. Draw a butterfly (you can choose any object of your choice) and cut out all the spaces with a craft Knife. *Note that this step should be done by an adult.
- Outline the edges with a black marker for a clean look.

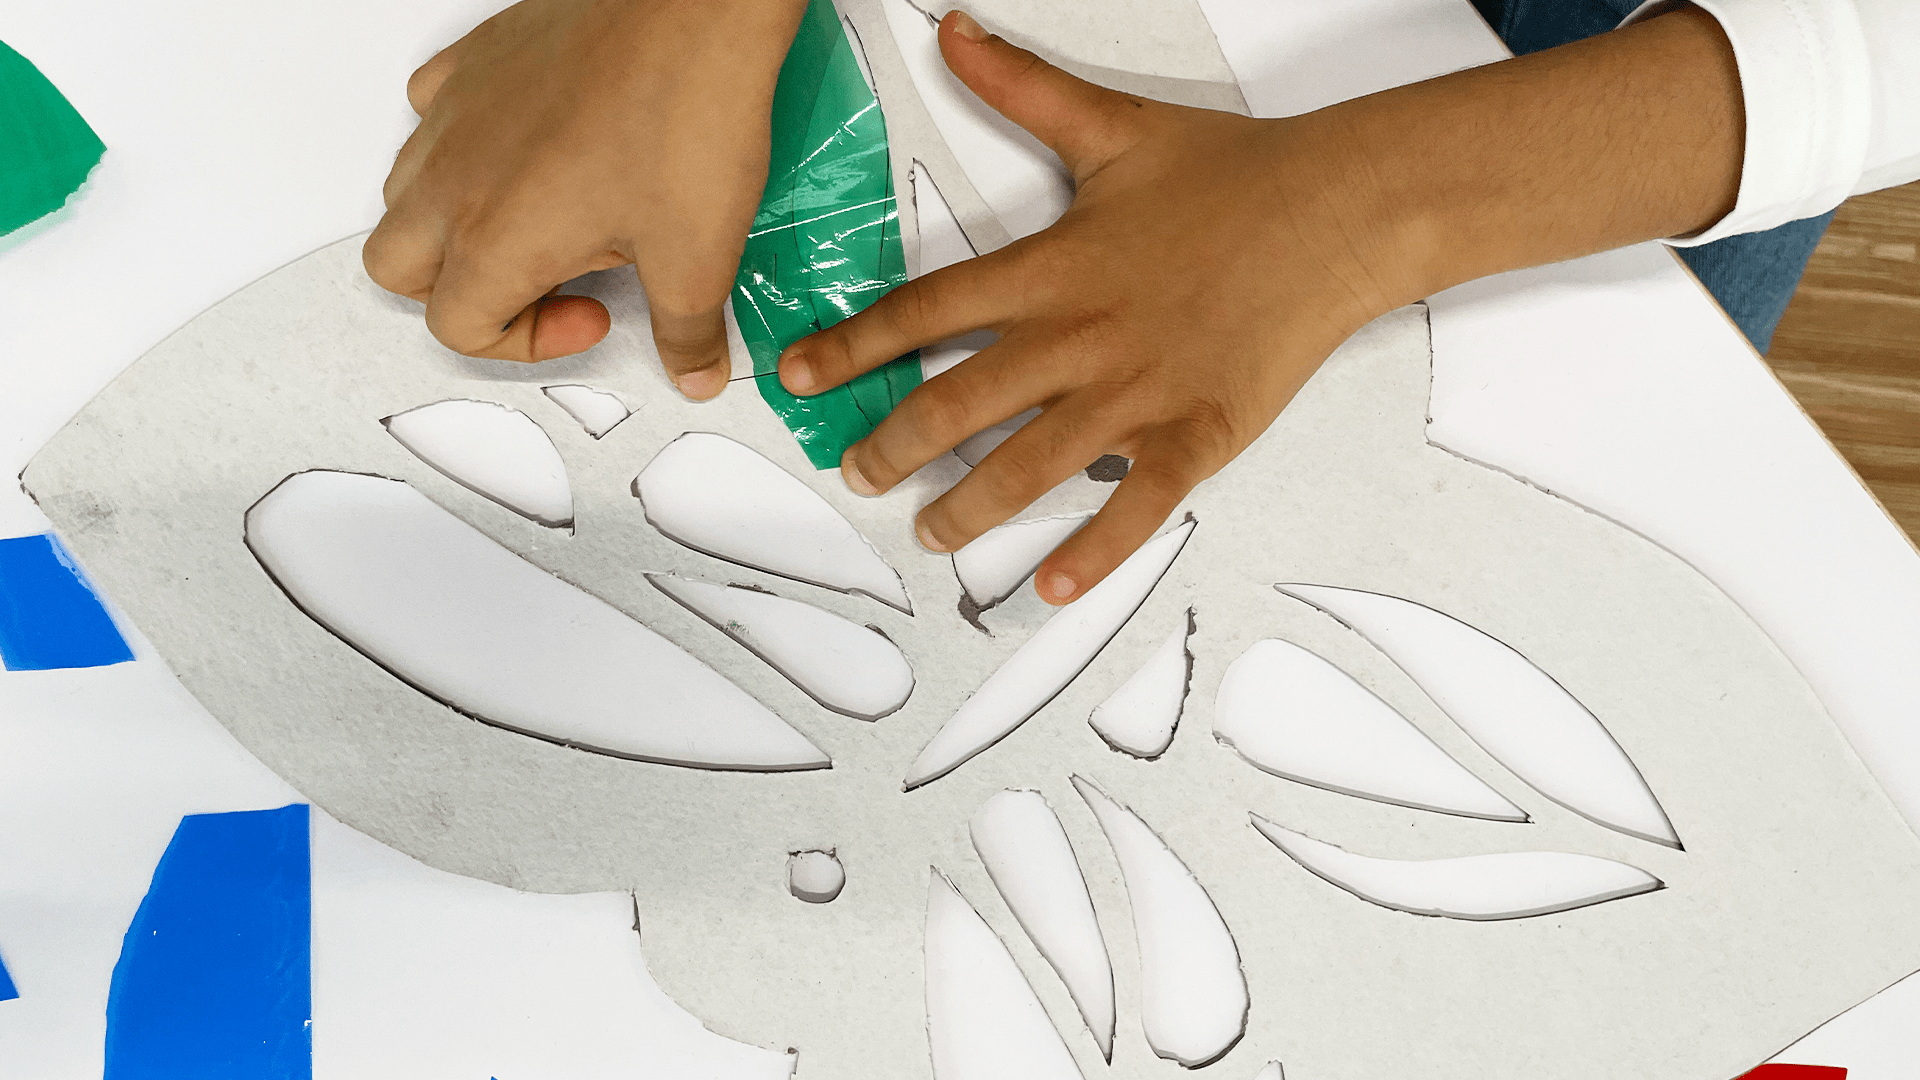
Pasting the cellophane paper:
- Cut out bits and pieces of the cellophane paper to fit over each space you cut out on the butterfly.

2. Flip the stencil on its back and direct your child to paste the pieces over each space. *Try using alternate colors to make the end result look attractive in the light.
The experiment:
Take the finished activity outdoors under the sunlight and watch the magic happen!
Also see: Printable Superhero Worksheets